Many professionals use screen recording for their presentations so that they can refer to the presentation to discuss it with a client or keep it for later references. Nowadays, as most of the educational and professional realm is being shifted online, we now see professors presenting their teaching material on PowerPoint, It is best suggested that they record these presentations for further reference. This can make the lecture available on demand for both the student, right before exams, as well as the professor’s future teaching. While there are many platforms where you can record your presentations, we will discuss software that provides a variety of features to record your PowerPoint presentation with audio and video.
Wondershare DemoCreator has an intuitive interface that makes it easy for everyone to record a video. It is beneficial for teachers, gamers, businesses, YouTubers/Vloggers to record on-screen presentations, tutorials, real-time games. All this can be recorded with the built-in system audio and cursor activities.
Wondershare DemoCreator works great with your computer’s built-in Web camera and Mic. If that’s not enough, you can also choose an external camera or Mic for your video creation. This software will record the system Audio. You can also turn off recording system audio if it’s not required.
How to record a presentation from PowerPoint using Wondershare DemoCreator:
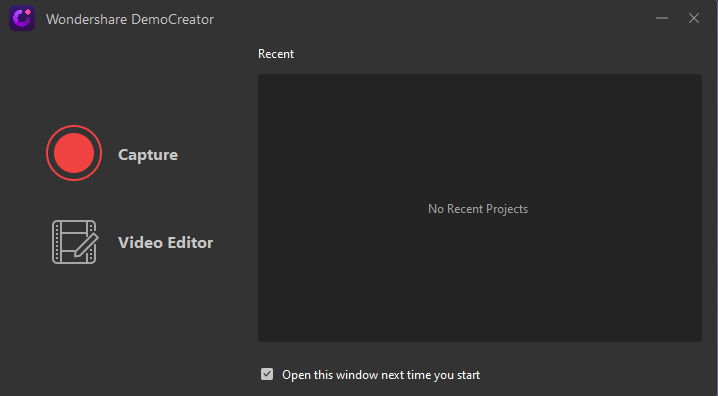
Step 1 – To begin with, download the Wondershare DemoCreator screen recorder. Install it and then launch it on your computer. Once you open the software a screen will appear which will help you capture your videos. Click on the red colour “Capture” button.
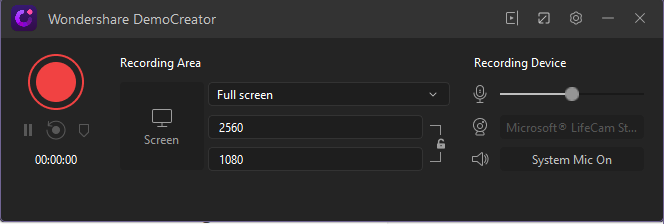
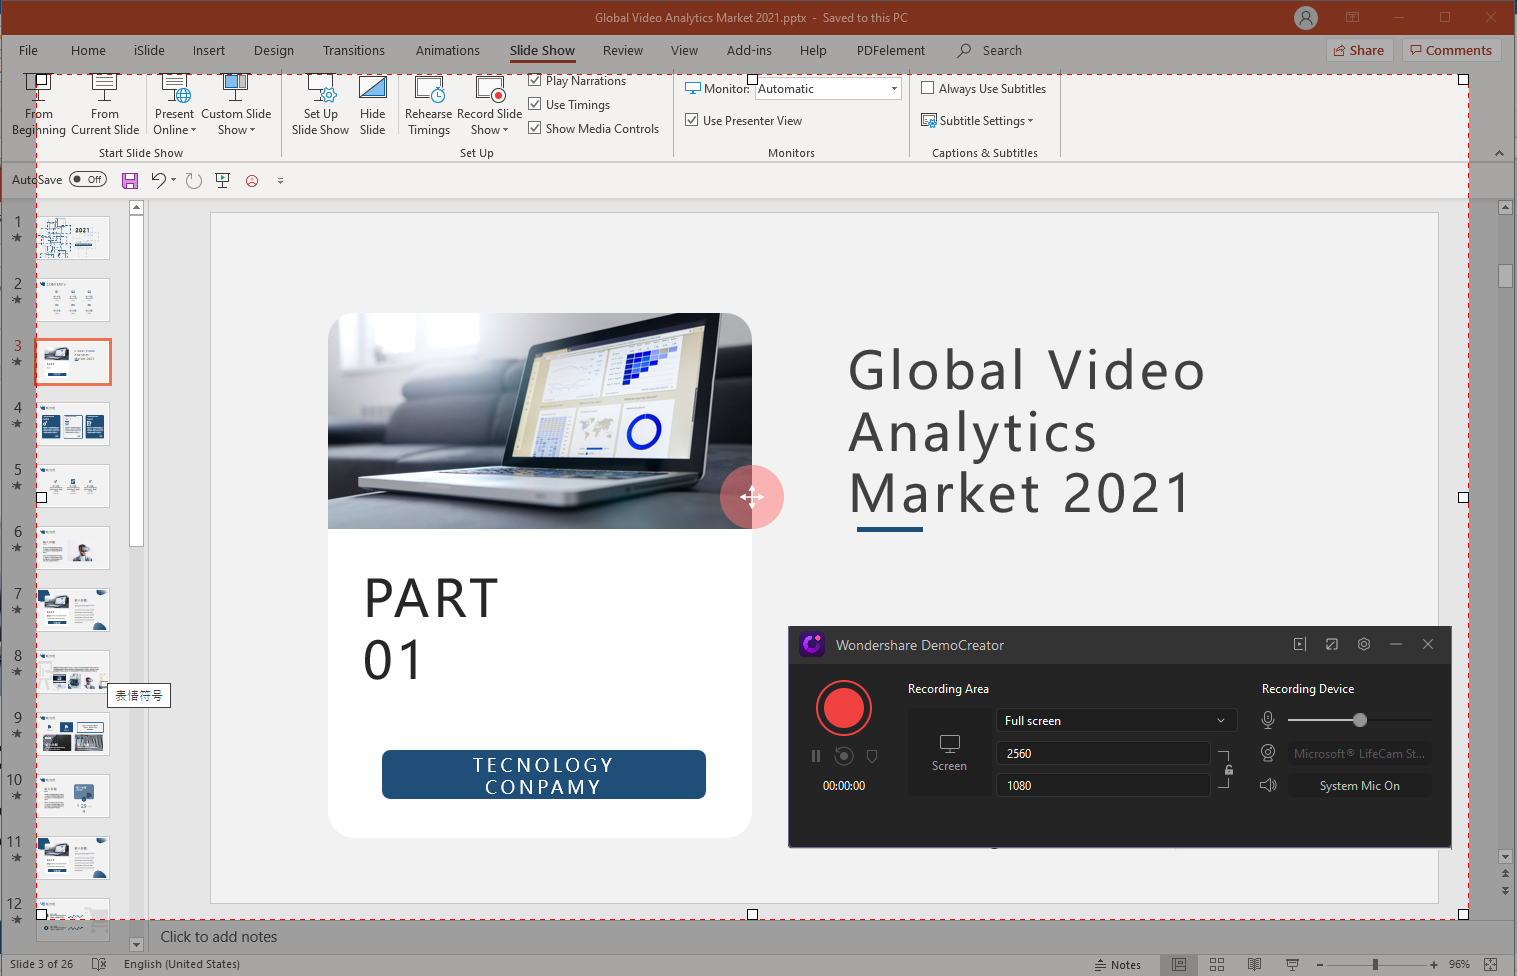
Step 2 – Now set up Wondershare DemoCreator and set the screen, Audio, and camera. Customize your recording options by clicking on the “Settings” button.
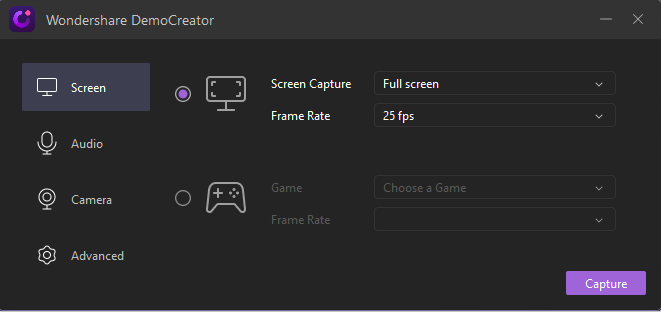
Step 3 – The users can choose between customized recording, full screen-type recording, or target window recording. You can also select your frame rate (from 15-120 fps)
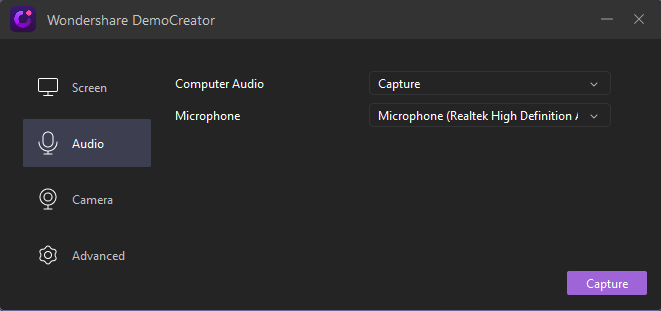
Step 4 – Next, to record your audio you are given an option to make an “audio” selection. You can choose either “Microphone” or “computer audio”. By default, both will be recorded, but you can change that by clicking on “Don’t Capture”.
Step 5 – Record your presentation
Once you have customized your audio and camera settings, open the PowerPoint presentation make that the target recording window.
Once you are fully satisfied and set click on red colour icon to start the recording console and then select the “Record” button. The software will countdown 3 seconds before it starts to record. You can press “Pause” button or click F9 to stop capturing and press it again to resume. After finishing the recording, you need to click on the red colour stop button or click F10.
How to edit a presentation video:
Once you’re recording is done, the editor will redirect you to the editor window where you can customize and make improvise to make your video more interactive.

Add Annotations – To Add an annotation, example- Dialogue box, sketch animation, arrows -and lines. Select the annotation tab and select the category you want. Click on the annotation and drag it to where you want it on your preview window.
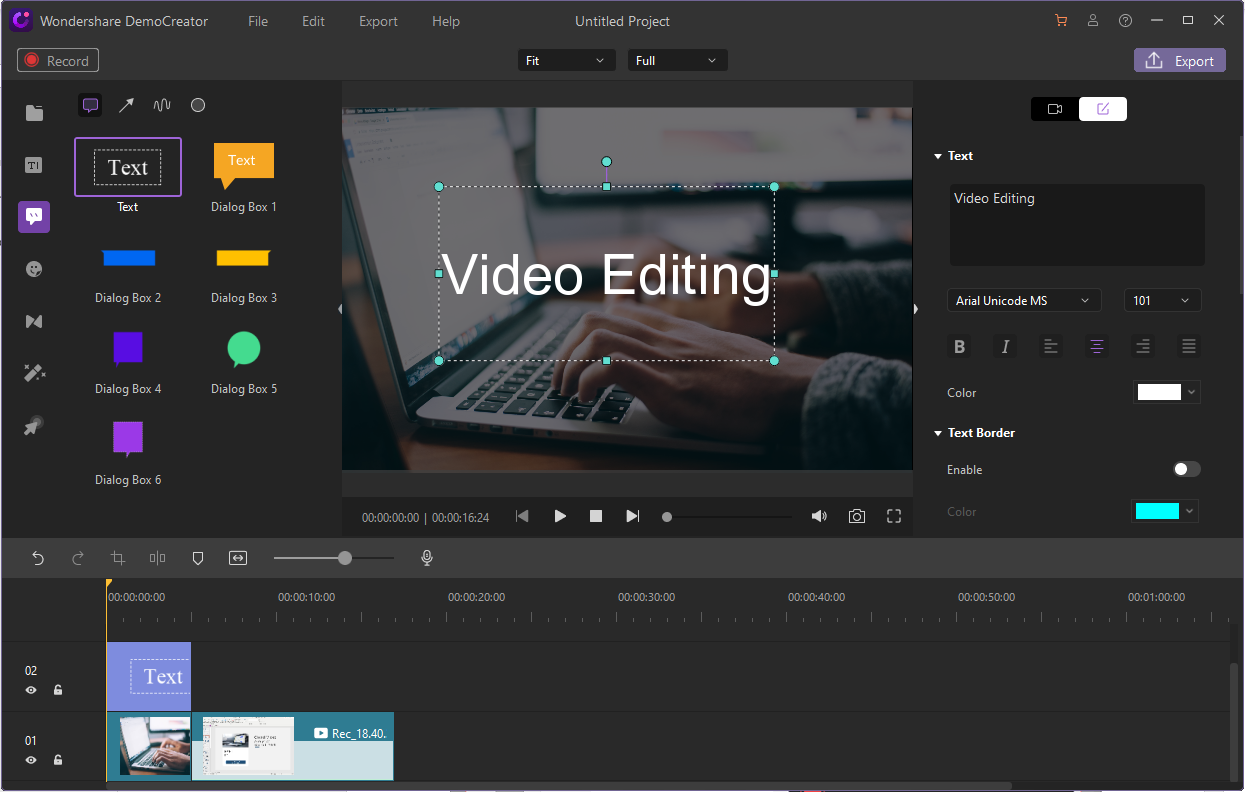
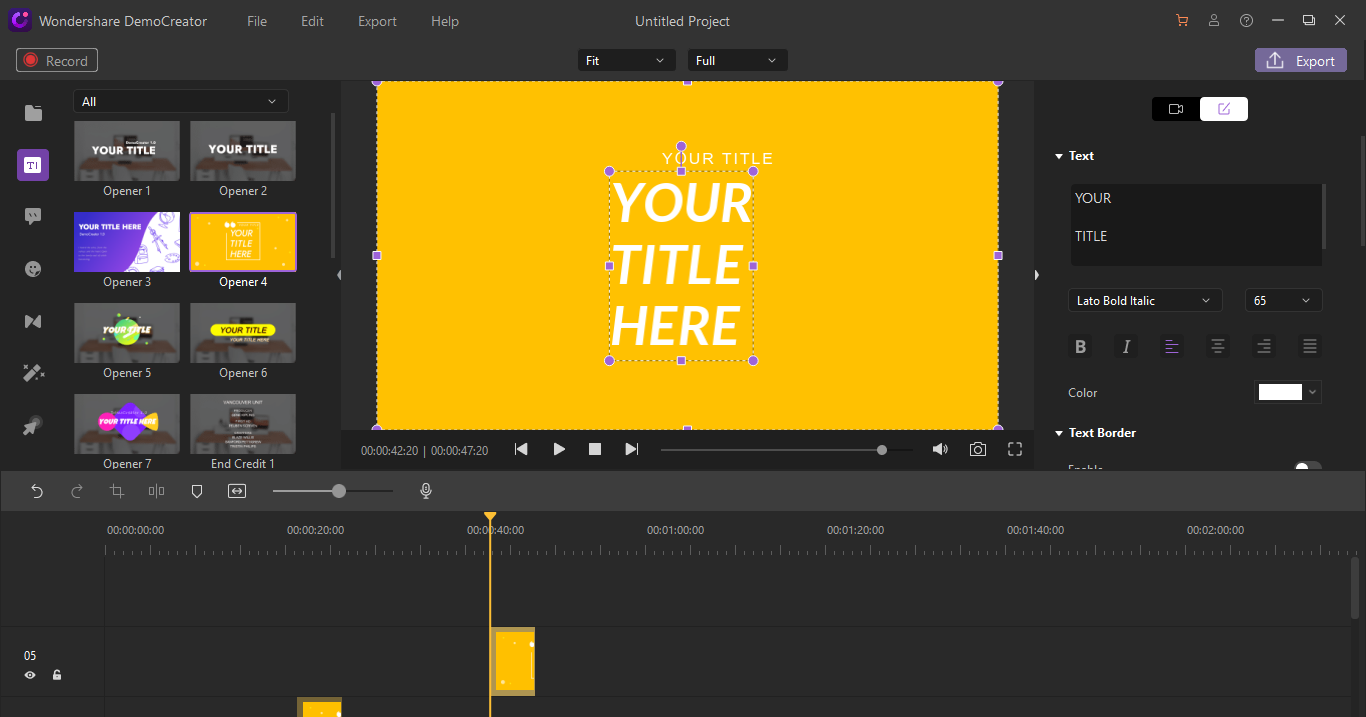
Add captions – Whether you are recording a demo, a tutorial, or a vlog with Wondershare DemoCreator you can easily add captions in different formats, change the font size, choose different fonts, text borders, caption visibility, etc.
Add Stickers – Users can insert creative stickers on their videos to make it look interactive and presentable

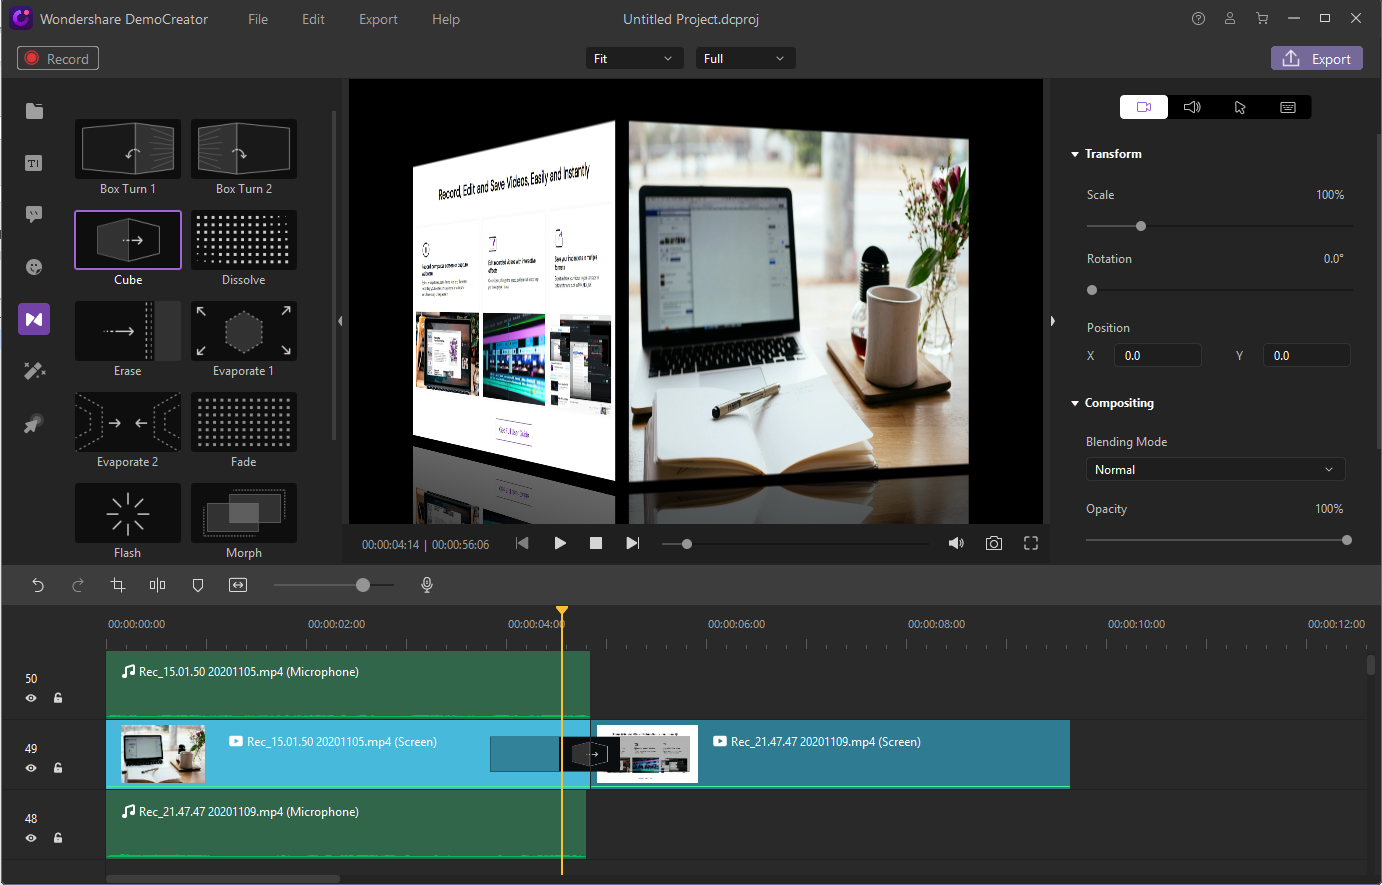
Add Transitions – You can find the transition effect in the toolbar on the left, and choose a different transition. Select your transition, drag it to change the video. You can also delete your transition if you don’t like it by right-clicking on the transition and choosing remove.
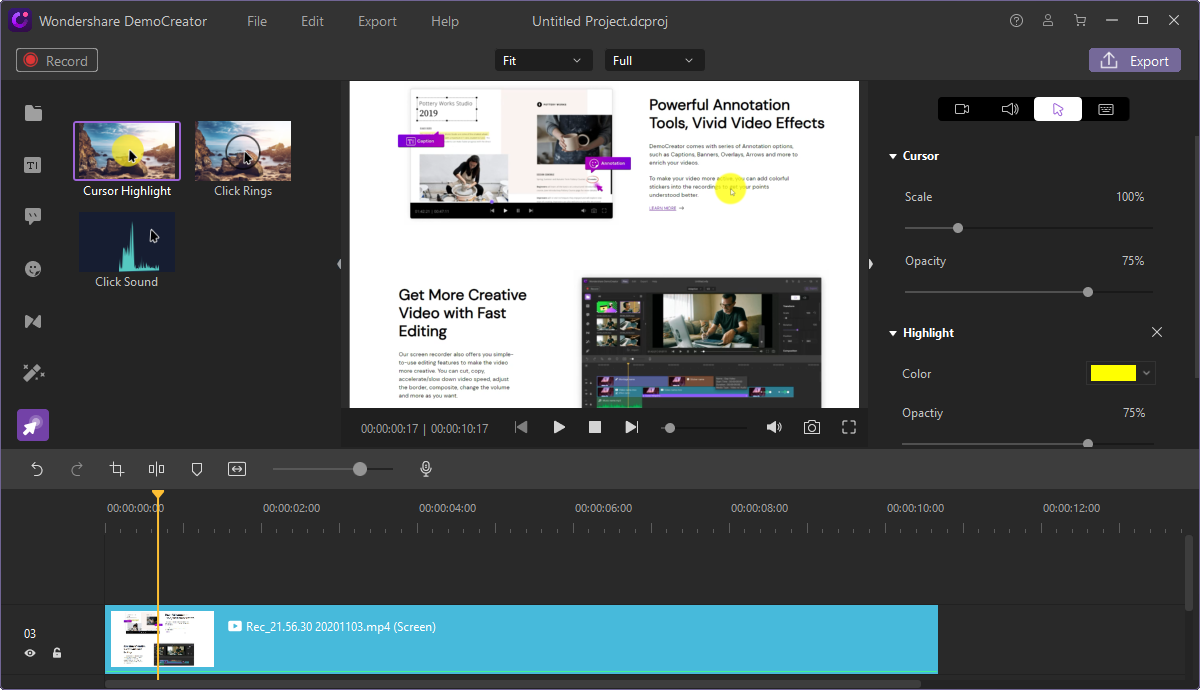
Add cursor to increase engagement – With cursor effects, users can make their cursor stand out using highlights, sound effects, etc.
To use the cursor effect, click on the bottom left corner of the toolbar. There are 3 effects to choose from- Cursor highlight, left Click Rings, and Left Click Sound. Select the cursor effect and drag it on the clip on the timeline. You can also Adjust the cursor accordingly or Hide the cursor by changing the opacity settings. Finally, if you do not need the effect you can simply delete the cursor effect.
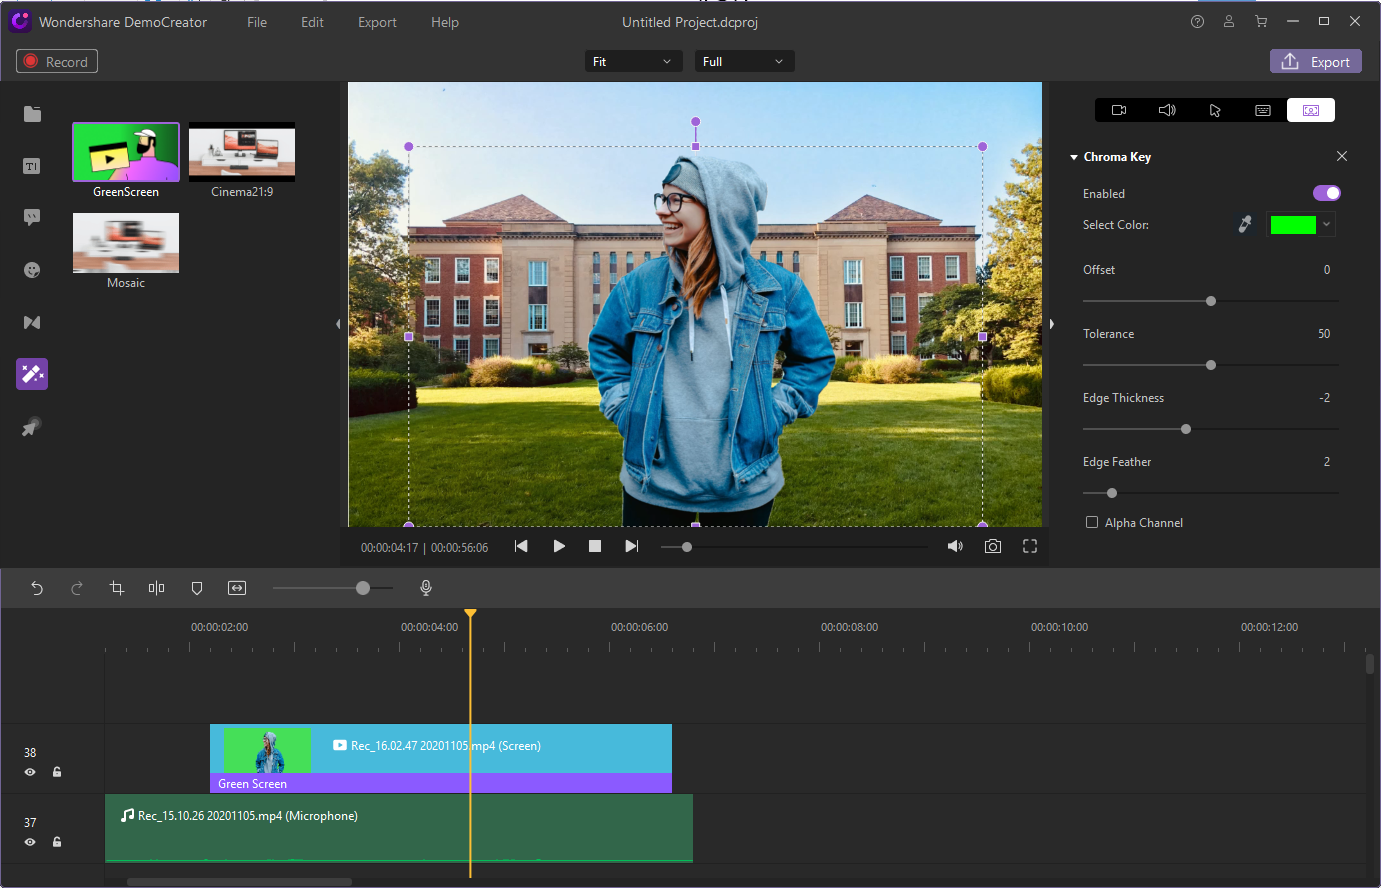
Add Green Screen and other effects – There are many interesting effects to choose from, one of them is the green screen. At first, import the media file with a green screen, then drag it to the timeline on the media files. In the properties window on the right, select the enable button, and choose the color of background. The green screen on the timeline will be removed and only characters will be shown, you can also choose any other color you want to remove. Uncheck the enable option to remove the green screen.
Cinema 21:9 and Mosaic are also a few effects to choose from.
OVERALL
Wondershare DemoCreator is filled with rich features, stunning performance, offering great video recording with its PowerPoint recording feature. The quality of the recording is excellent, and with the various editing effect like adding captions, stickers, annotations, green screen, etc, users can make their video presentations more interactive, lively, and captivating. Be it gamers, vloggers, businessmen, or professors, the user, as well as the receiver of the presentation, will be content and satisfied with the presentation recording. Making the presentation involves a lot of effort, therefore with the help of this recorder your presentation can become an asset. Wondershare DemoCreator is free to download and very user-friendly. With a modern user-interface design, the software looks clean and stylish providing a kind experience to the user.