Launching a website is an absolute must for businesses. While social media pages such as Facebook and LinkedIn serve as great business pages, they do not have the power that websites have.
A business website allows potential customers to find you right on Google. It will open your business to a larger audience, which increases lead and sales potential.

Websites also provide better control over your online presence and rids your audience of any distraction when they’re on your webpages. (You can’t pull this off with social media pages since they see notifications and pop-ups from other users.)
Are you interested in selling online? Launch an e-commerce website where your customers can easily buy your products.
Do you want to post blogs to generate more visitors? With your own website, you have full control of your web pages’ content, aesthetics, and other aspects.
Many people are intimidated by the entire web development process. It is easy to hire web developers, but they are expensive, especially if you are just taking your business off the ground.
Fortunately, you can launch a website yourself with little to no coding skills.
In this article, we will outline the general steps on how to make a website without touching a line of code. Here’s how you do it.
Step 1: Pick a Hosting Service
First, you need to pick a “home” for your website. Hosting services essentially “rent” space in their servers to house your website with varying subscription fees.
There are countless hosting packages online. Therefore, before even shopping for options, think about your goals for your website.
- Do you want to launch a simple landing page or a multi-page website?
- Are you planning on expanding your website into other services such as an online shop?
- What type of content do you want to publish?
- How many visitors are you expecting every month?
Hosting services offer a wide range of features. However, take note of the solution’s storage and traffic limitations.
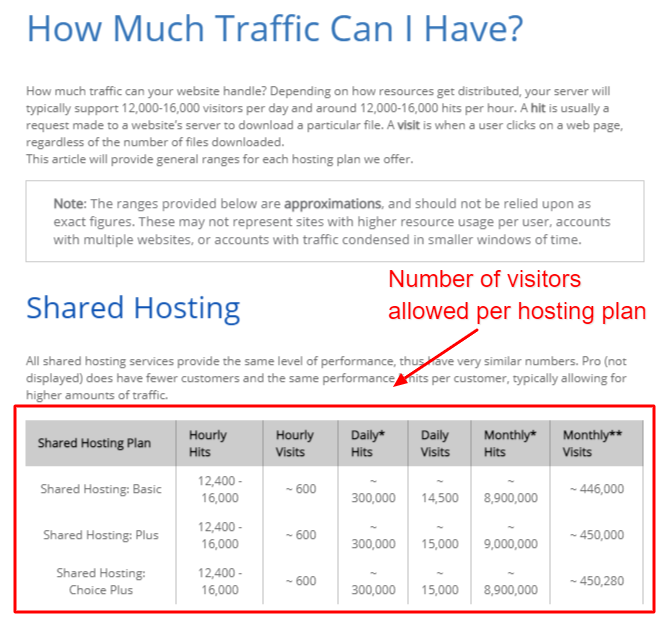
Storage means the number of assets that you can upload. The space allocation is denoted in gigabytes (GB). These assets may include web pages, photos, videos, databases, and more.
On the other hand, traffic refers to the number of visitors that your website allows in a period of time. Depending on the solution provider, you may need to search their FAQ for this information.
(Image source: bluehost.com)
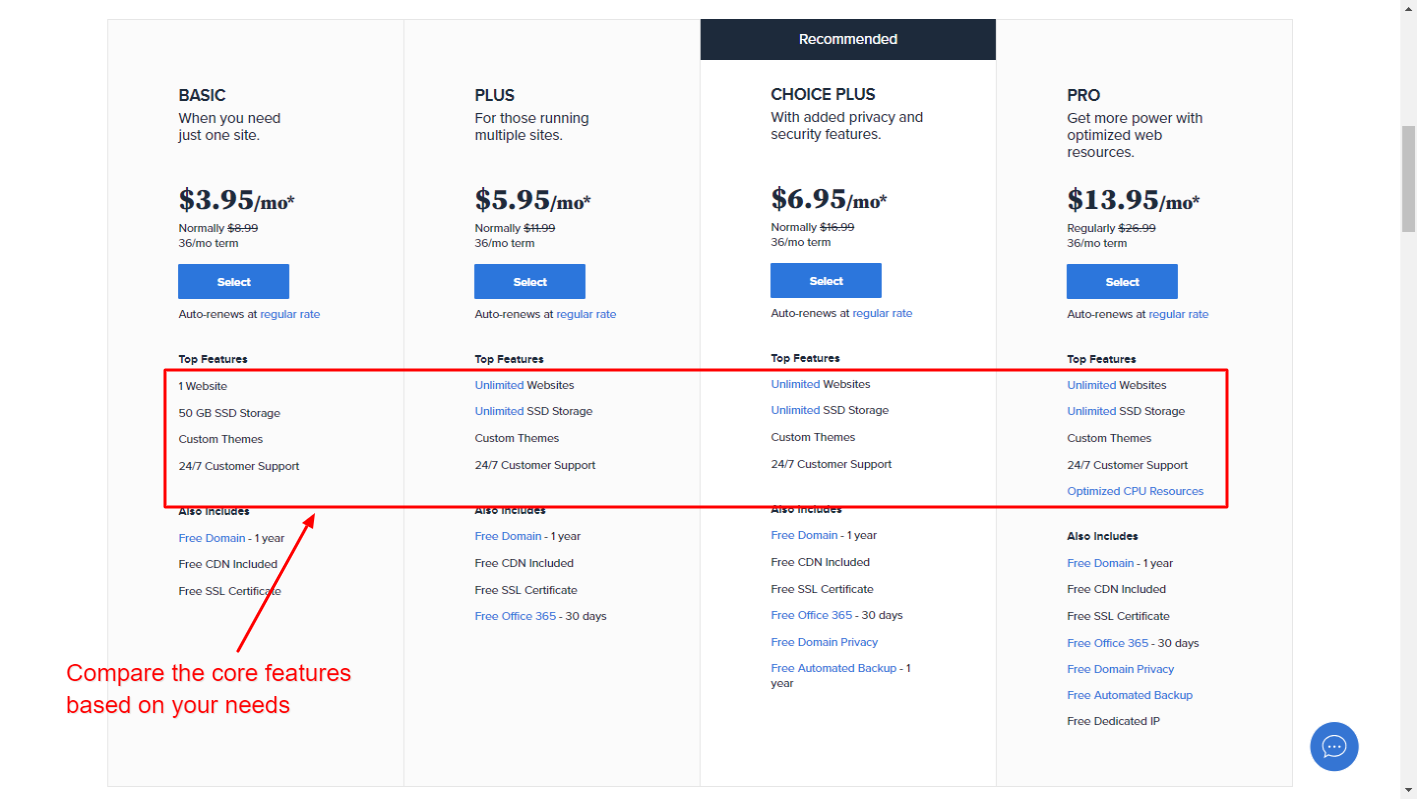
Make sure that you explore the benefits of each package. Evaluate whether the features and functionalities of the hosting plan are suitable for your goals.
After all, you do not want to be paying for a feature that you barely use.
There are three types of hosting services:
- Shared hosting – great for businesses that want to get their website online without any frills. Typically used for landing pages, basic websites, and blogs.
- Dedicated hosting – best fits businesses that want to have a high-level of security, resource control, privacy, and more—typically used in launching web apps and similar services.
- VPS hosting – enterprise-level solution for bigger organizations. Perfect for businesses looking for dedicated computing power for ultimate performance and complete control of server resources.
Unless you own a huge corporation, shared hosting is more than enough to house your website. It is flexible, and you have the chance to upgrade for more space or higher traffic in the future.
Here’s an example of a hosting plan comparison:
(Image source: bluehost.com)
Note that while hosting plans show monthly fees, payments are usually for annual subscriptions. Rates are much cheaper if you subscribe for two years or more.
Step 2: Install a CMS
Using a content management system (CMS) is one of the easiest and fastest ways to launch a website without having to learn to program.
WordPress is a massively popular CMS. It is beginner-friendly while also providing extensive customizability for coders and non-coders alike. In fact, it powers 39% of all websites on the Internet.
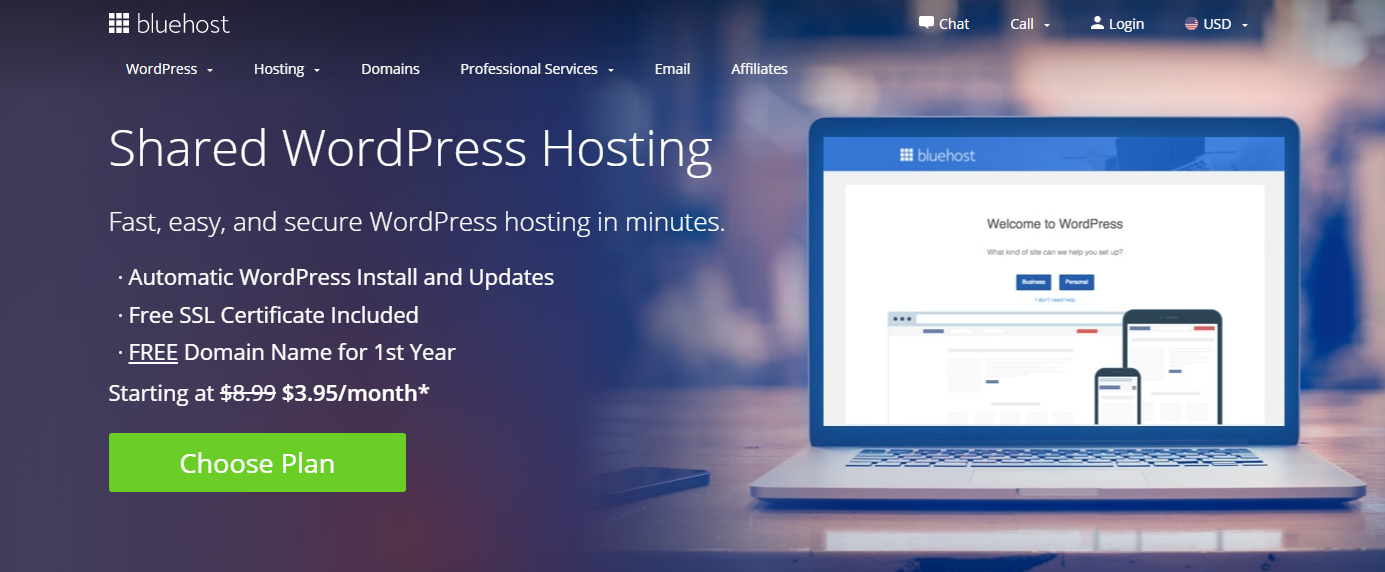
Some host providers offer WordPress-only solutions, so you do not have to install the CMS on your own. Others include a one-click installation, which is also intuitive.
(Image source: bluehost.com)
Other popular CMS are Drupal, Joomla, Magento, and more. They come with varying usability and flexibility. So, it is recommended that you explore these options as well.
CMS and similar frameworks work right out of the box. Adding new pages, blogs, and other content is painless and efficient.
Modern versions even include drag-and-drop web page editors, so you don’t have to deal with codes even when customizing specific elements, web pages, or layouts.
On top of that, these systems are extensible using plugins and add-ons. Their functionalities range from simple widgets to fully-functional e-commerce systems.
Popular CMS also comes with extensive documentation, tutorials, and walkthroughs. Most have active communities where you can ask questions and assistance if you run into issues.
However, these systems are not fully flexible. You still need to adhere to the processes within its framework, which limits parts that you can customize.
If you are willing to learn to code or you have someone who can, try to explore headless CMS.
It offers the manageability of traditional CMS while making sure that you have granular control over your website. Developers use headless CMS to develop web apps and other complex business solutions.
Step 3: Choose a Theme
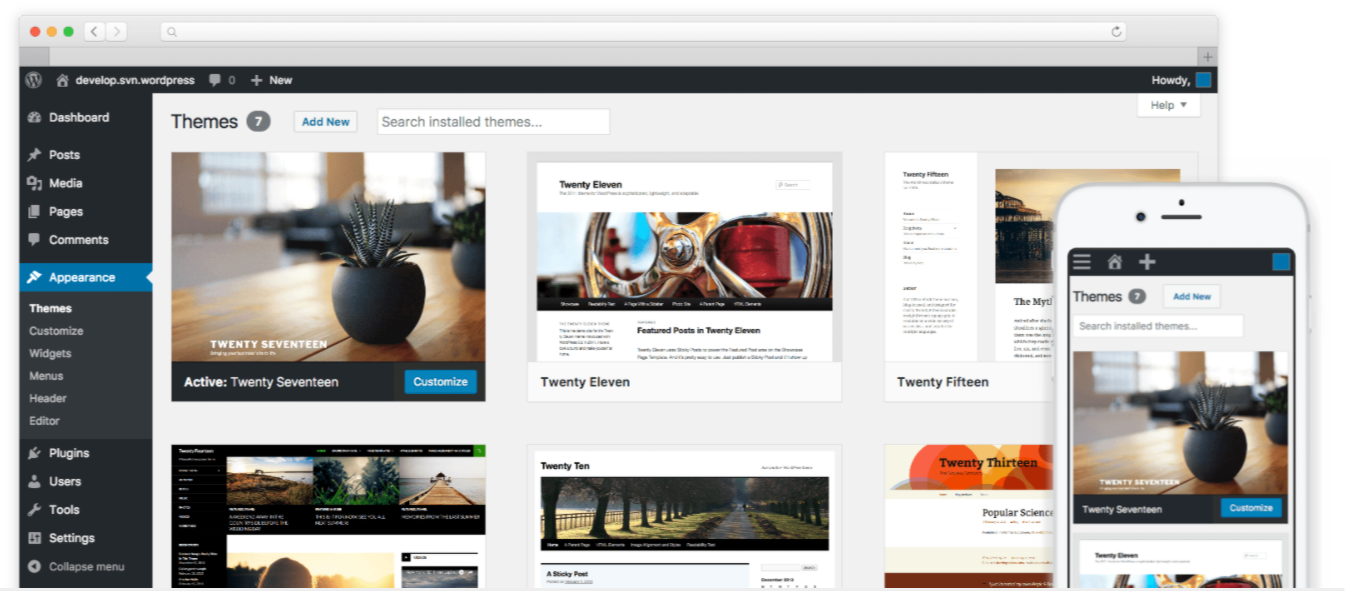
Now that you have WordPress (or another CMS) on your server, it’s time to personalize it with themes.
Due to its popularity, you will find countless WordPress themes on online marketplaces. Some developers also offer theme and plugin development services.
(Image source: wordpress.org)
Free themes offer basic layout and designs. However, they have limited features and support, so you will have to figure things out on your own.
On the other hand, premium themes include all the assets that you need to build your website’s design. Most come with intuitive controls where you can change and modify various parts from the home page to the contact forms.
Paid options also come with plugins that fit right in with the theme’s design. Additionally, they offer full documentation and customer support.
Theme developers often include demo versions, so make sure that you explore. Testing out the theme is a great way to evaluate if it perfectly suits your website and brand image.
Step 4: Upload Your Content
CMS allows you to focus on your content instead of spending a lot of time figuring out codes and other technical details.
Once you have your theme in place, it is time to add and upload your content, such as your business’s logo, texts, photos, and videos.
Systems like WordPress include easy-to-use management portals such as media libraries, posts and blogs, and web pages.
Because CMS uses themes as templates, you do not have to design every post and page from scratch.
All you have to do is write your content through the built-in editor, add relevant media, then hit publish.
WordPress even allows you to schedule a blog post later or save them as a draft if you are not done writing.
What’s Next?
Now that your website is up and running use it on your social media pages to attract visitors. Additionally, regularly posting blogs will help you gain new customers.
Your next step is to improve your website’s ranking on Google and other search engines. Start learning about search engine optimization (SEO) to improve your content and website’s overall quality. Make your site compatible to voice search, invest in a proper caching solution and minify images to load quickly.
Ranking higher in search engine page results (SERPs) will generate more leads and result in more sales for your business.