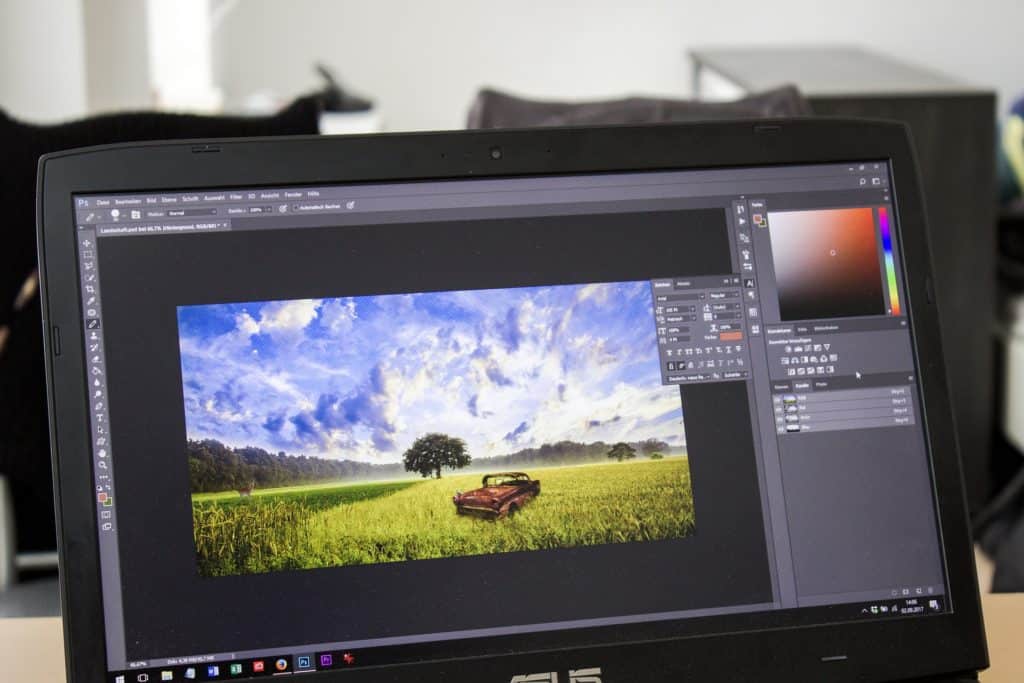
Designing a WordPress site is easy. One needs very little programming knowledge since the open-source platform is very easy to use. However, you need to convert your PSD templates into WordPress themes to create attractive and interactive web pages. Now, the important thing is that there are some specific steps that you must follow to convert the PSD designs successfully to WordPress. Many people hire designers or WordPress experts to help them. Agencies can really help you with the PSD to HTML conversion. But if you want to do it on your own, this guide will help you!

The Steps that Need to be Undertaken for the Process to be Successful
Follow these steps and your conversion process should be successful.
Slice your PSD template
The PSD to WordPress conversion process begins with cutting the PSD template into multiple files. This enables you to save every PSD template design element separately. You can use a photo editing program or Adobe Photoshop itself.
Create an HTML and CSS template
You need to encode the cropped templates into the HTML format and then create the related CSS file. You can use programs like Dreamweaver or Fireworks to avoid the need for programming skills. However, a little knowledge of HTML and CSS becomes really useful in this step. Save the HTML template as index.HTML and the CSS file as Style.css. Here, in this step, you can decide whether you want a static or responsive website.
Create a WordPress Structure out of the index.HTML File
The WordPress theme has a specific structure and is primarily composed of two types of files – index.php and style.css. You need to split the index.HTML file into several .php files like the following:
- Archive.php
- Header.php
- Footer.php
- Index.php
- Single.php
- page
- Sidebar
- Category
- Search.php
- 404.php
- Comments
- comments popup.php
Structuring your files like this helps you extend your website in the future and add all the functionality you want.
Add Tags
In this step, you must add the built-in function tags to the .php files you created in the previous step. This completes the creation of a custom WordPress theme. You can activate it via the WordPress dashboard.
Add Extra Functionality
Since it is always room for improvement, you can add all the extra functionalities you need to WordPress in the last step. It is always better to get the basics done, ensure you have something up and running before you start adding extra functionality, however. That’s why we’ve put it at last.
The process of converting PSD to WordPress is simple, but if you find it a bit confusing, hire a WordPress developer. You can easily find one at a reasonable price, as there is no shortage of experienced WordPress developers. Moreover, you can find many free webinars and tutorials on PSD to WordPress conversion if you want to learn more and have more visual aid.


