Many of you may wonder what SSL is and why should you need SSL on your website. To answer both questions, SSL is a secure method to encrypt and protect data while transmitting between client and server. It’s an essential way to protect users’ data, especially if you have an e-commerce website that processing credit cards.
SSL represents the “S” character in HTTPS, which you may see in the address bar of your web browser when visiting some secure sites like eBay, Paypal or even Google. Technically, SSL adds a new layer of encryption to regular HTTP, to verify the receiver and only allow authorized receivers can decrypt the encrypted message to see its contents.
All sensitive data like personal details, credit cards, email or password should always be served through HTTPS. However, many newspaper sites and blogs have activated SSL to increase trust and reliability, or take the reward from Google that helps to boost their rankings in search results. So even if your website is not an online store that accepting and processing payments, there are still good reasons to consider HTTPS.
Purchasing and activating SSL on your website will cost you more money per year, especially if you are using a shared web hosting. Accordingly essential requirements, you must have a dedicated IP that assigned with your website in order to install and activate SSL. Most web hosting services will charge you $4 per month per an IP address or $48 per year, plus $12 for purchasing SSL certificate. So total would be $60 per year to maintain SSL on your website. Not really cheap for a small site, right?
But I don’t talk about premium SSL, which cost you a lot of money to maintain in this guide. I’m going to show you how to set up and activate SSL on your site quickly and totally free!
Let’s get started.
How To Set Up SSL On Your WordPress Site For Free
The first step to activate HTTPS on your WordPress website is to sign up for a free cloud DNS service, called CloudFlare. If you don’t know what DNS is, I suggest that you take a few minutes to learn before going further. The UsefulPCGuide blog does a great job by posting a useful article with an infographic and video that explained how does DNS work, check it out!
Set Up Your CloudFlare Account
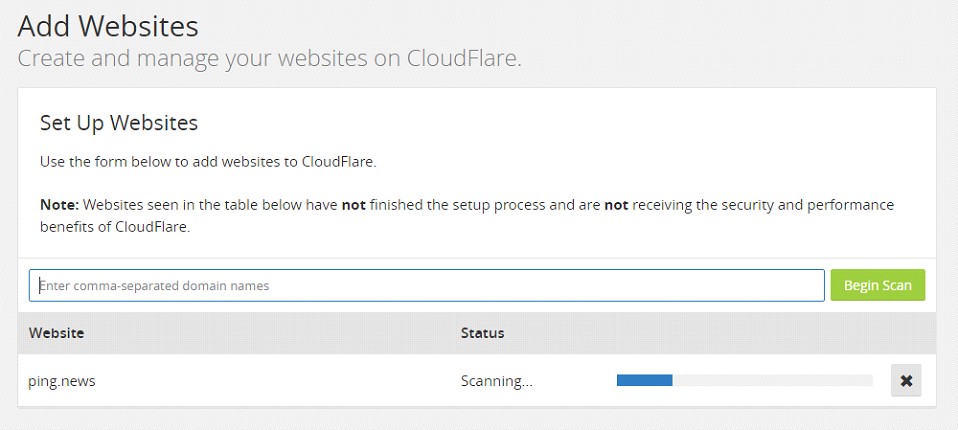
Once you have completed the register process, it will ask you to enter the domain name of your WordPress site to get started.
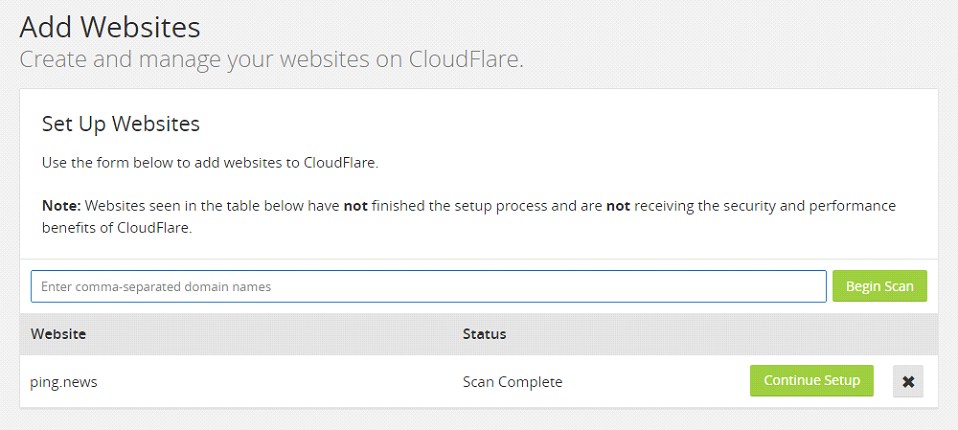
When the CloudFlare’s scan process is done, choose “Continue Setup” to move to the next step.
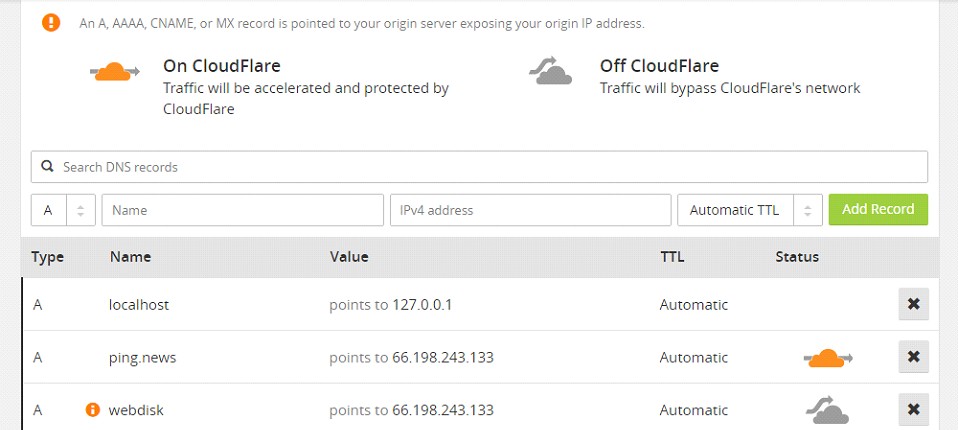
Review your current DNS records again and make sure it’s correct. Next, click on “Continue” button.
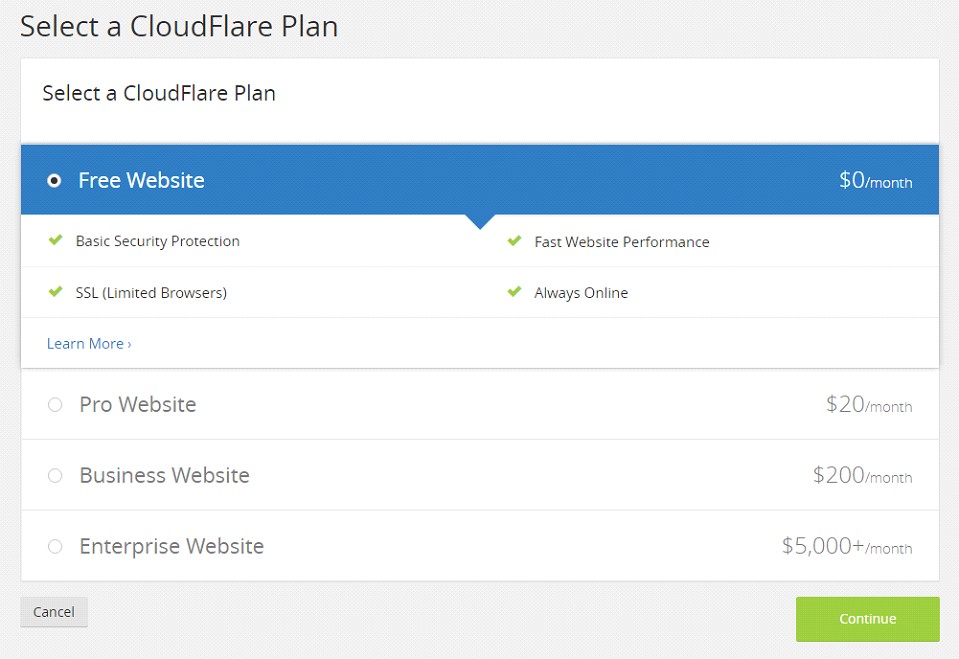
Choose “Free Website” plan, which will cost you $0 per month.
CloudFlare will show you two nameservers, where you need to change your current nameservers to.
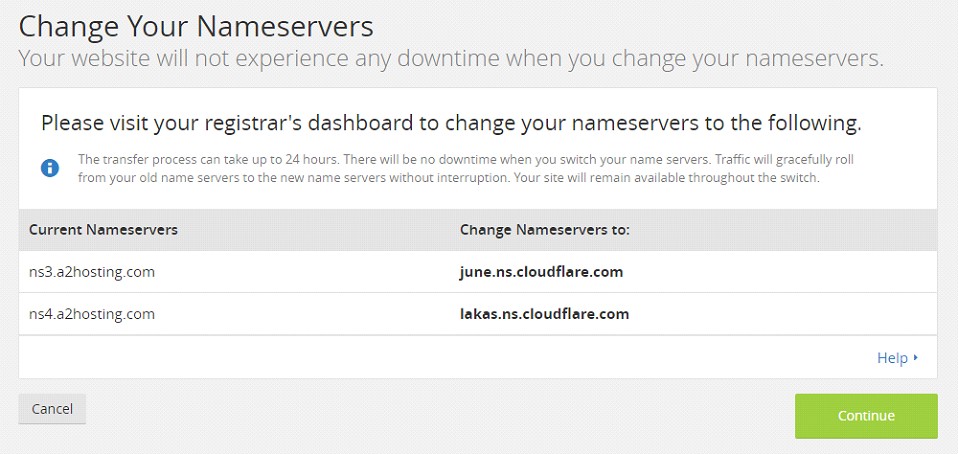
After changing your nameservers, it could take up to 24 hours to take effect. In the meantime, there are a few other things that need to be done before your website going to work with HTTPS.
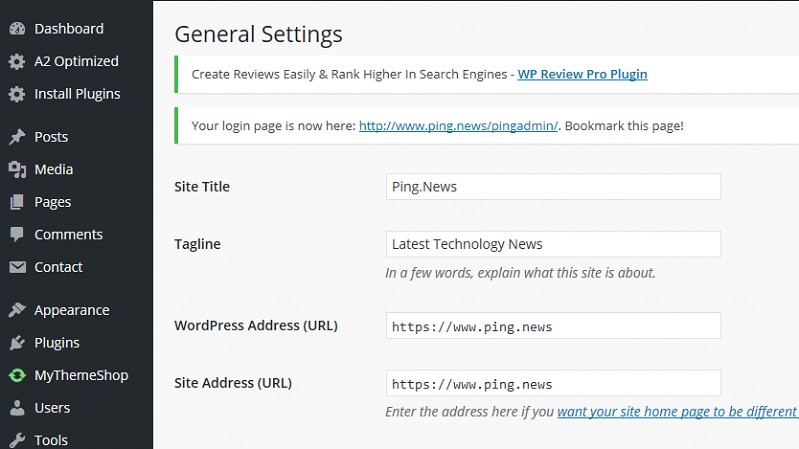
Change Your WordPress URL From HTTP To HTTPS
In order to work with HTTPS, your WordPress URL must be changed from HTTP to HTTPS. You can simply do that from your WordPress Dashboard, under Settings → General. When you click on “Save Changes” button, you will have to log in to your WordPress Dashboard again.
Update All Links To HTTPs In Database
Now it’s time to scan and replace all regular HTTP links in your WordPress database to HTTPS. You know, it could be a link to a particular image, an internal post or page. If your WordPress blog has some posts, it’s very easy to do by editing one by one. However, a blog with a hundred posts or more – will take you a lot of time.
But don’t worry, there is a tool called “Database search and replace script in PHP”, which will help you to scan and replace all HTTP links to HTTPS automatically. Just click here to download, unzip and upload into your root folder of your WordPress site.
Then visit that URL in your browser, for example, http://your-domain.com/search-replace-db
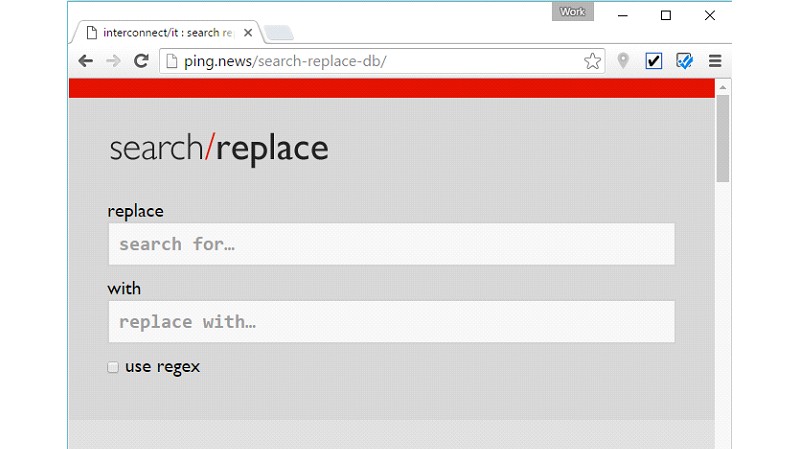
You can insert what you want to replace, such as:
- http://www.your-domain.com to https://your-domain.com
- http://your-domain.com to https://your-domain.com
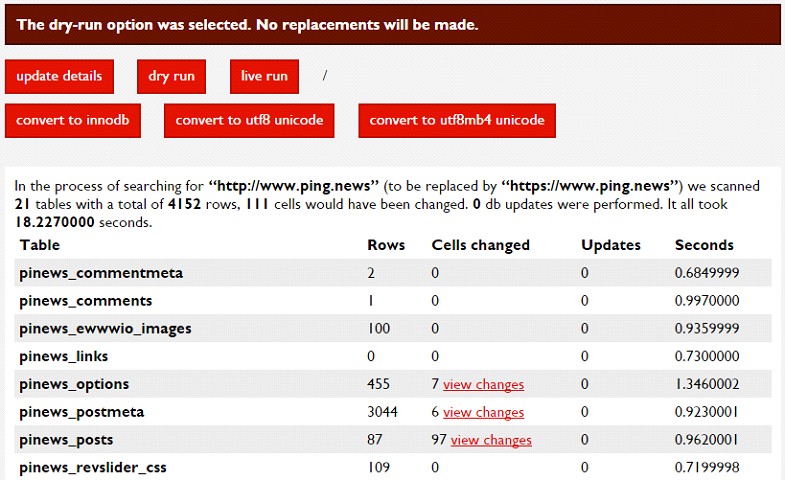
I would recommend you to run the “dry run” first to verify what this tool will replace in your database before using the “live run”, which will be affected your WordPress database. This process will update all entries in the database, and replace all URLs, including WordPress URL and hard-coded links on posts and page.
Force Redirect HTTP To HTTPS With .htaccess File
When you enable your WordPress site to use HTTPS, it doesn’t mean your website will run through HTTPS all time. For example, users who have bookmarked your site with HTTP, they still access your WordPress website through HTTP by clicking on the bookmark.
However, you can redirect all HTTP requests to the HTTPS protocol by adding new codes into the .htaccess file that stored in the root of your WordPress site.
RewriteEngine On
RewriteCond %{HTTP:X-Forwarded-Proto} !https
RewriteRule (.*) https://your-domain.com/$1 [R=301,L]
Be careful and don’t modify anything between the # BEGIN WordPress and the # END WordPress tags as your WordPress site manages them. Every time you update permanent links or upgrade WordPress version, contents between both tags are refreshed. So if you add your custom code there, it will be gone someday.
Conclusion
By activating SSL on your website, you have helped to improve your WordPress site, protected users’ data and gain better results in search engines – without spending a penny!